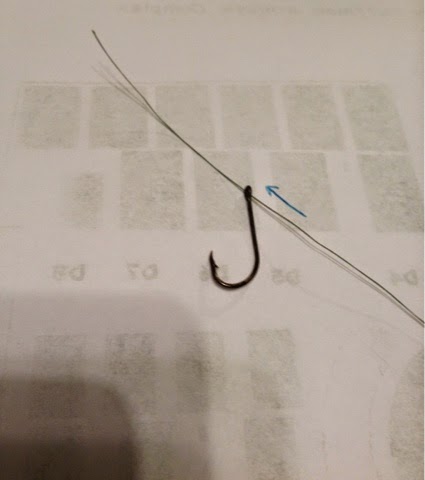
Next up, we pull the hair toward the hook.
In the picture above, I probably have the hair a bit too close to the hook. The beauty is that you haven't tied it yet, so adjust as you please. Generally speaking, the larger the bait, the longer your hair will need to be. Corn will not require as long a hair as boilies.
When the hair length is where you want it, you need to place it right against the back of the hook shaft. Then take the braid you passed through the hook eye and wrap it clockwise around both the hair portion and the shaft.
Many carp anglers recommend wrapping the line at least seven times. I would say that you may need to wrap it a few more times. When the fish takes the hair, you don't want the hook to be far behind.
After you're comfortable with the number of times you've wrapped the braid, pass the end of it through the back of the hook eye one more time.
Now pull the top end of the braid tight, and you have a hair rig attached to the hook.
Just a couple of notes on the type of hook that's most compatible with the hair rig. First, it needs to be a plain shank. In other words, no little barbs on the back. Second, I wouldn't go bigger than a size 4.
Size 4 is what I used for this demo, but I would probably start out with a six. Even the bigger carp have small sucker-type mouths.
Tight lines!


No comments:
Post a Comment